

Menu Boxes
Menu Boxes
The data management section, STRUCTURE tab, is the place where you can deal with the icon menu, the menu boxes and options, dropdown menu boxes and options. When you click this icon:  you get to the menu boxes creation page.
In the "menu" boxes you giveaccess to your articles with etother internal or external llnks.
It is here your new menu boxes are created, named and options are assigned to them.
Note : Once you have set these parameters, display and layout of these menu boxes will be chosen in the the Config boxes section.
The page opens up on the existing list of menu boxes.
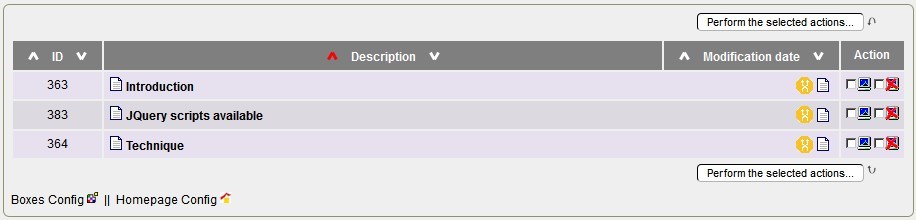
Note the orange icons on the right, they can create a drop down menu based on the classic menu.
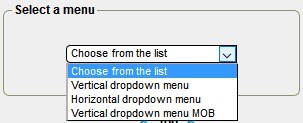
Clicking on this icon to select the type of drop-down menu:
Then you enter the form below, then save it, the dropdown menu options will be created automatically:
Creating a Menu Box:
Click the link " Create a menu box.
Various menus and input fields let you:
- Specify state of box:
- Active, it can be displayed (go to config boxes).
- Inactive: it can't be displayed. This option is relevant when you work on articles to be published in a new menu box , but not yet ready to be accessed by visitors.
Restrict access or not to a private group. You may thus restrict access of this box to a group of people you have previously specified in General Management>Group Management" section.

- Schedule coming out of box (if active).
Start date OR end date with format YYYYMMDDhhmnmn (Year, Month, Day, hour and minutes)

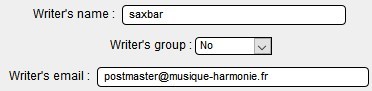
Enter writer's username as well as their email address, and if necessary the collaborator group.
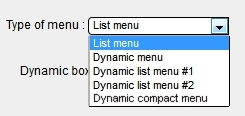
- Choose type of menu display:
Click the dropdown list to see the various options that let you choose the layout of the items list (links to articles actually) in your box.
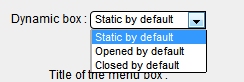
And also the default display of dynamic menu:
|
Example of presentation with option "Dynamic liste menu 1" open by default. |
Another example with option "Compact dynamic menu " open by default. |
|
|
|

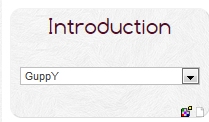
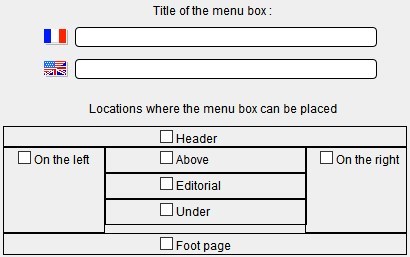
Give a title to menu box:
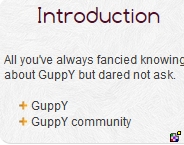
It's the title that will show above the list of items in the box. In the above examples, the title of the box is "Introduction".
Give a title in both languages of the site whenever a second language has been set.
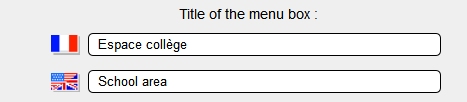
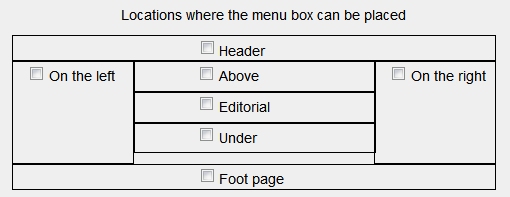
Specify the location of the box on your site.
The different areas or blocks of the page are represented as a plain enough table. Choose the location of your box by ticking the places you want it to appear.
if you choose display on the right hand-side, it will show only if activated in the"Admin>Configurations>Boxes Config" section. Note also that of course, in Boxes config, no other choice will be available but display on the right hand-side..
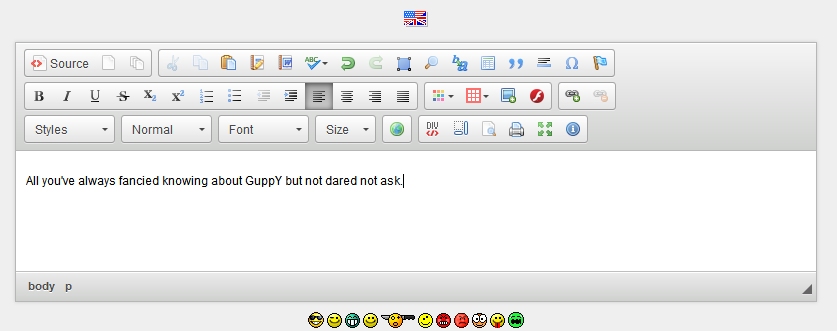
Adding a note above the menu.
Vous pouvez écrire une note qui permet par exemple de présenter brièvement le contenu de cette boîte à vos visiteurs.
Ecrire aussi la note pour la deuxième langue dans le champ prévu.
Ce qui donne pour notre exemple boîte "Présentation" :
When you're done with your choices, don't forget to click ... SAVE
noter : vous pouvez accéder directement aux parties de l'administration "Config Boîtes" et "Config Accueil" en cliquant au bas de la page sur :
Let's then get back to Admin>Structure>Menu boxes options to complete configuration of this menu box.


